
Xero Integration
In order for you to generate a call-to-action on your invoices for your partners when using Xero, you can follow these easy instructions to create a BidFin Invoice Template.
Implementation
When implementing the BidFin CTA on your invoices when using Xero, the method is straight forward, adding a static text and logo with hyperlinks within the invoice template. The process requires minimal changes to the existing system and provides visibility to BidFin.io's services.
Requirements
- Access to the Xero account you're integrating with BidFin
- MS Word, LibreOffice or Google Docs to edit DocX files.
Create Custom DocX Template
If a Theme Template doesn't exist, follow these instructions to create the template.
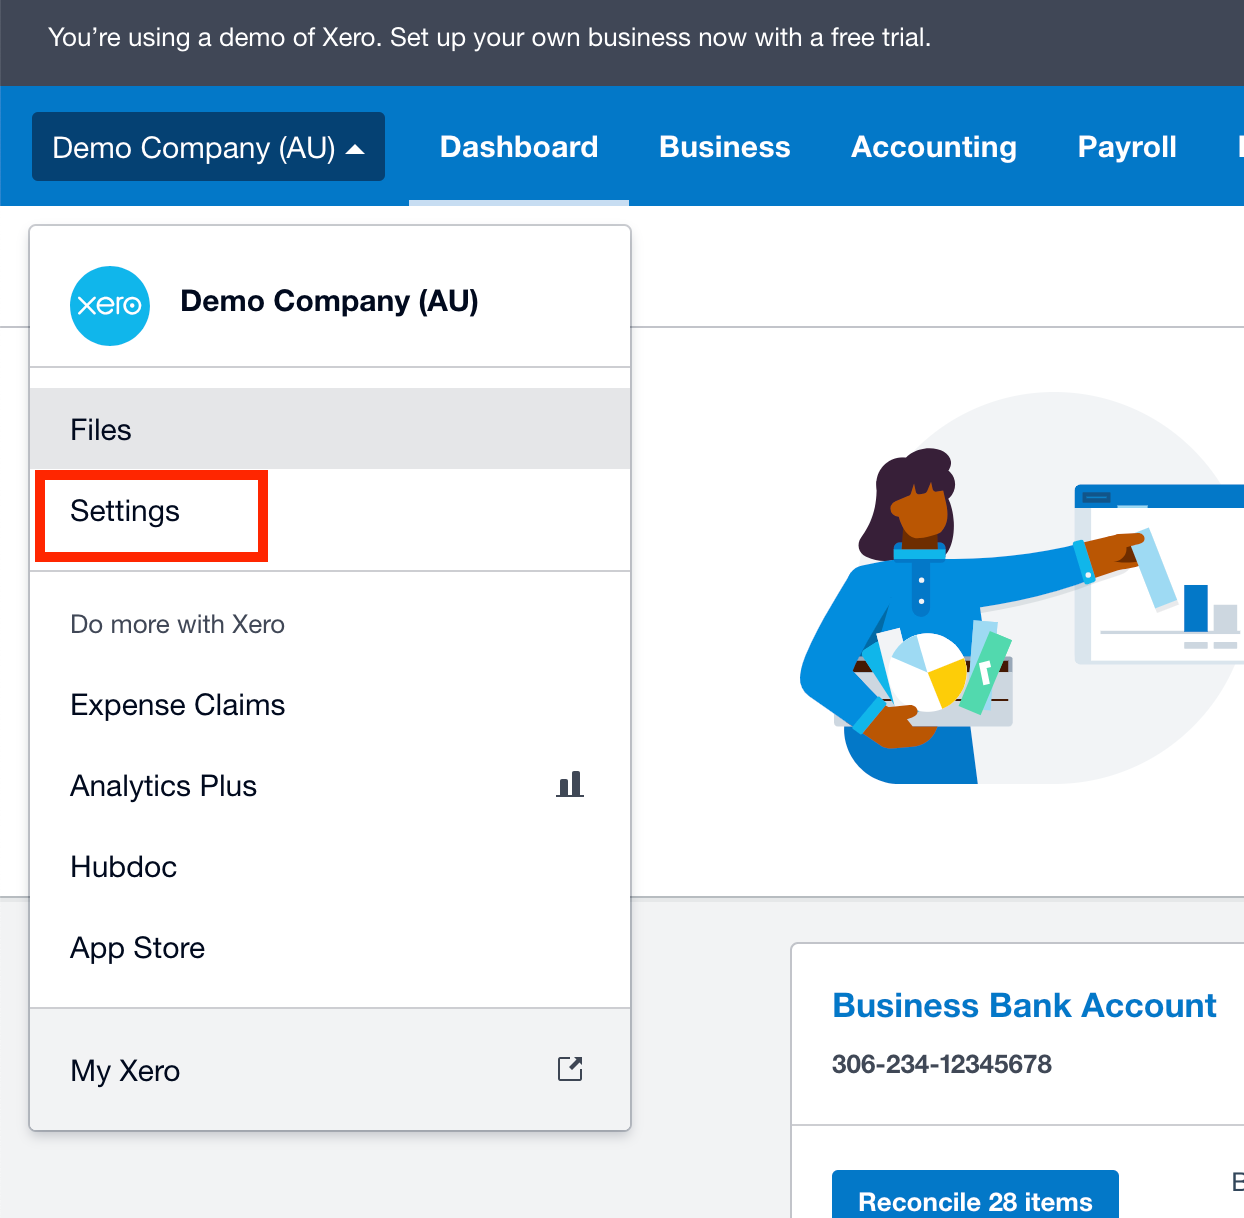
- Click the organisation name, then select Settings.
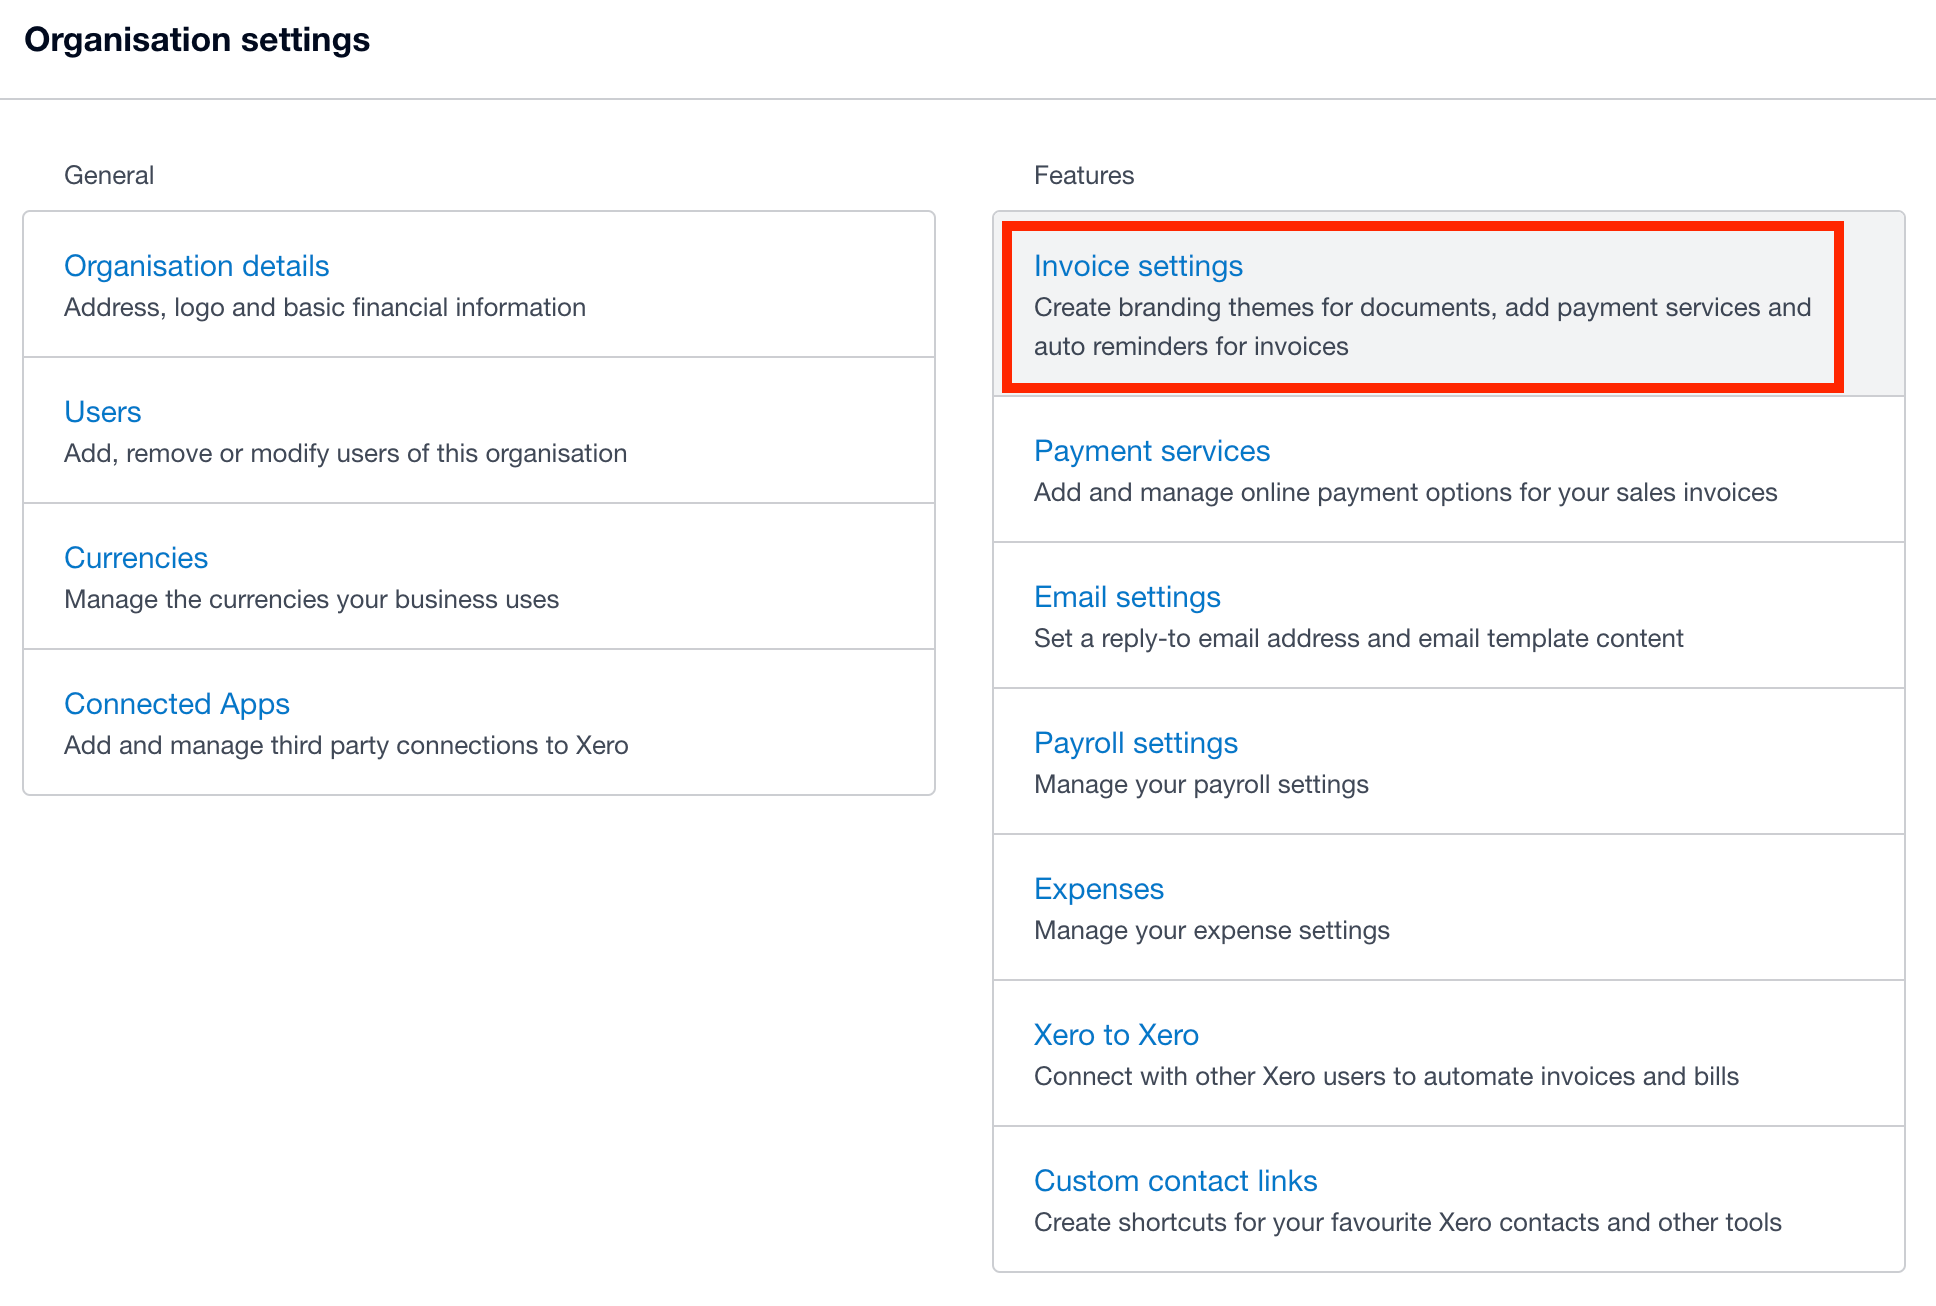
- Click Invoice Settings
-
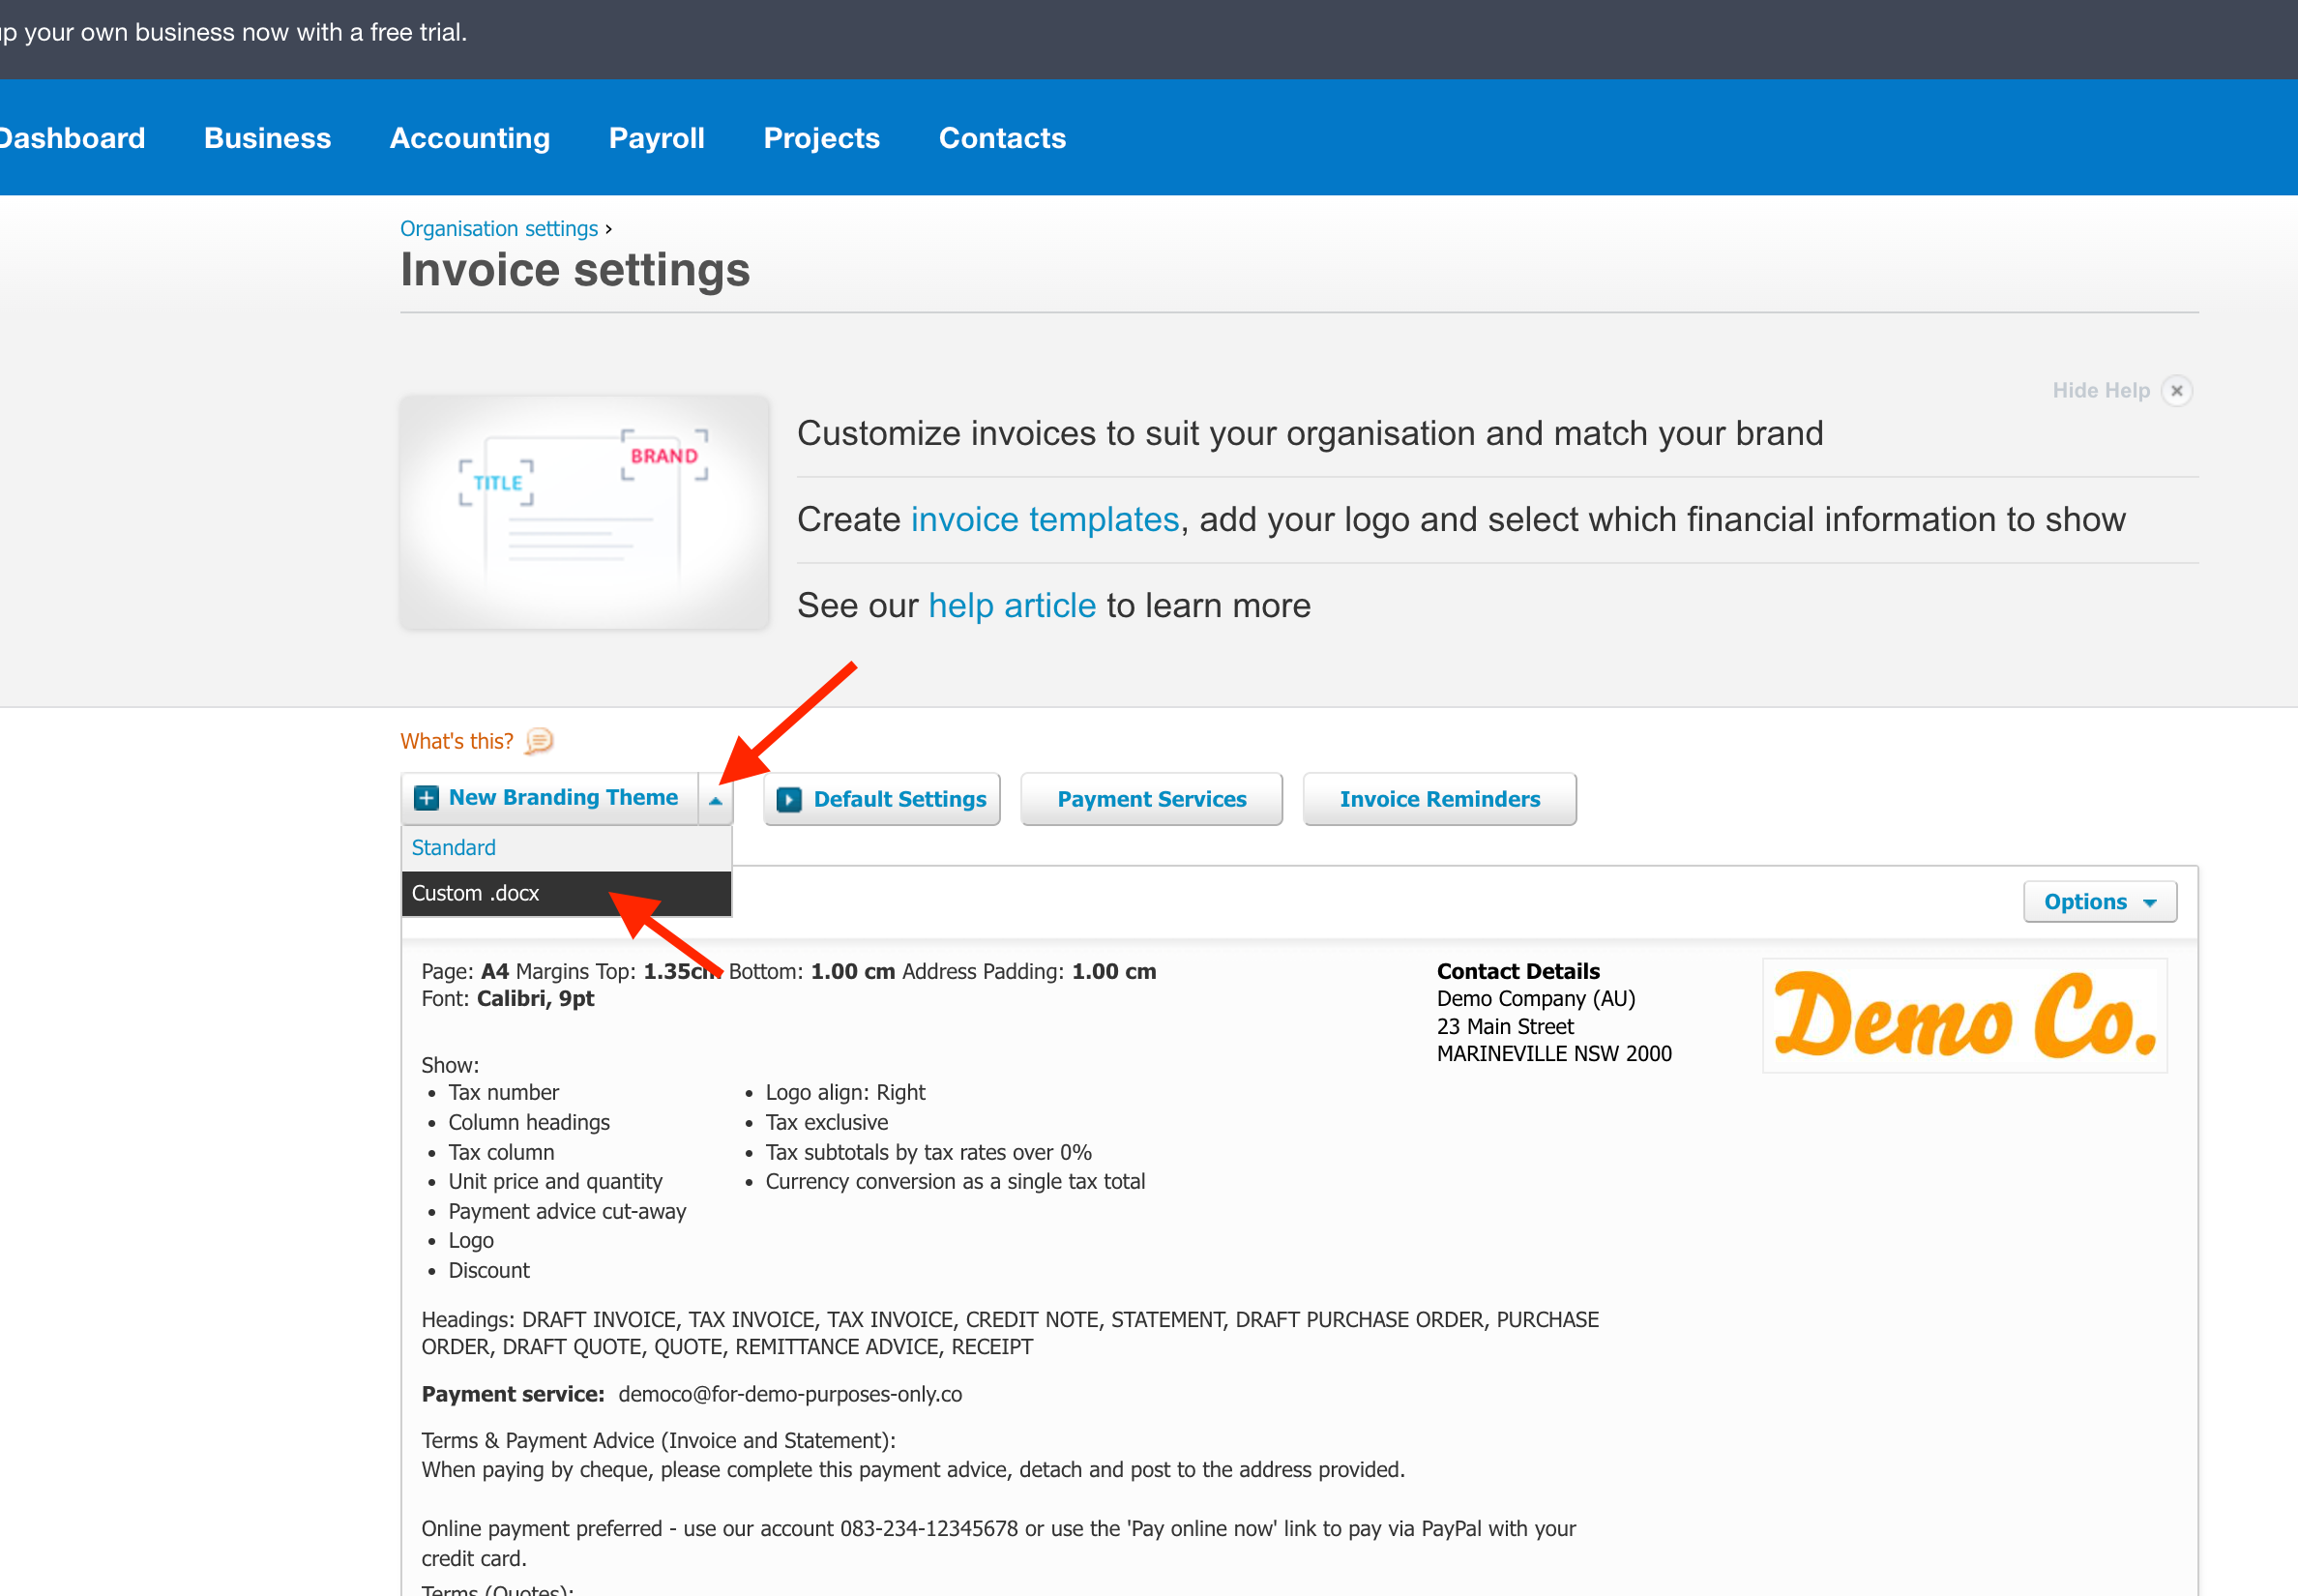
Locate the New Branding Theme button and click on the caret on the right side and on the dropdown, click on Custom .docx
-
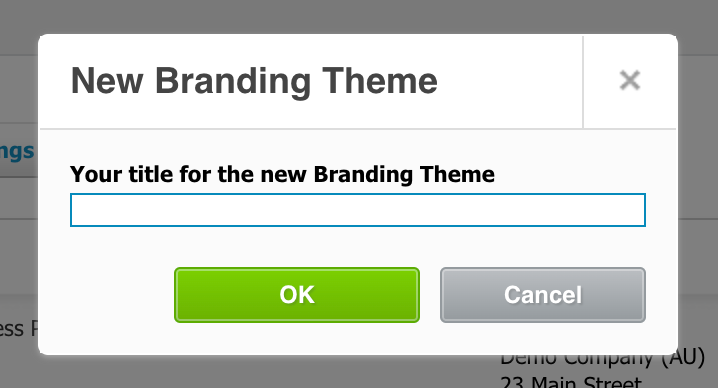
Enter a name to identify the theme (eg. BidFin.io)
-
Click OK
-
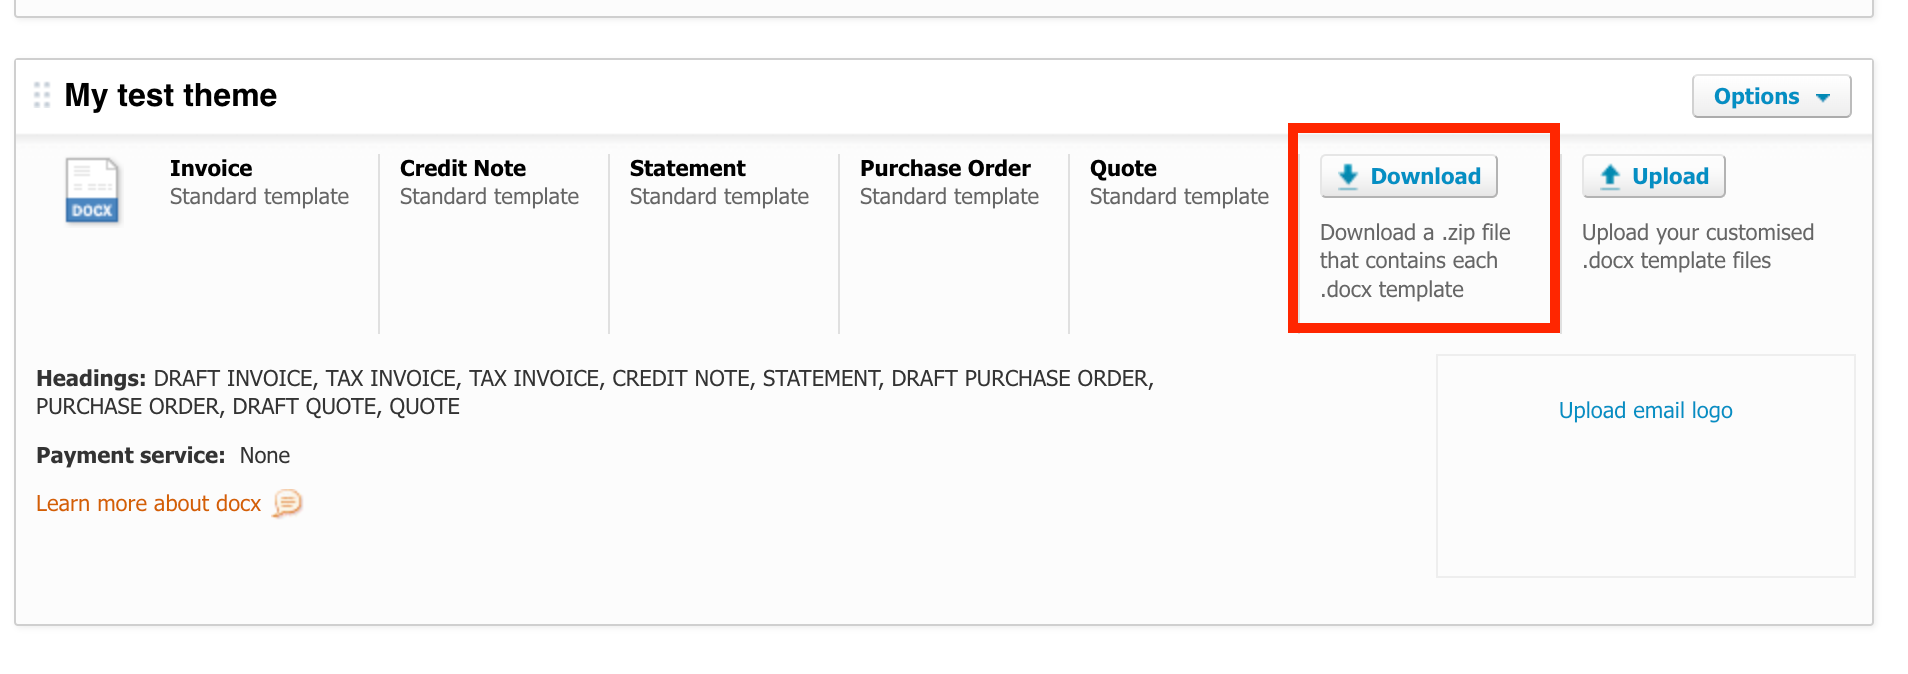
Scroll down and locate the custom theme you've created
-
Click on the Download button to download the zip file with the template file
If you already have a theme template:
- Click the organisation name, then select Settings
- Click Invoice settings.
- Look for the branding theme you want to change
- Click on the Download button to get the zip file for the templates
Add Logo and Call-to-Action (CTA)
- Unzip the branding theme file downloaded and open the file invoice.docx (this will be your invoice template file)
- Open the BidFin static template file.
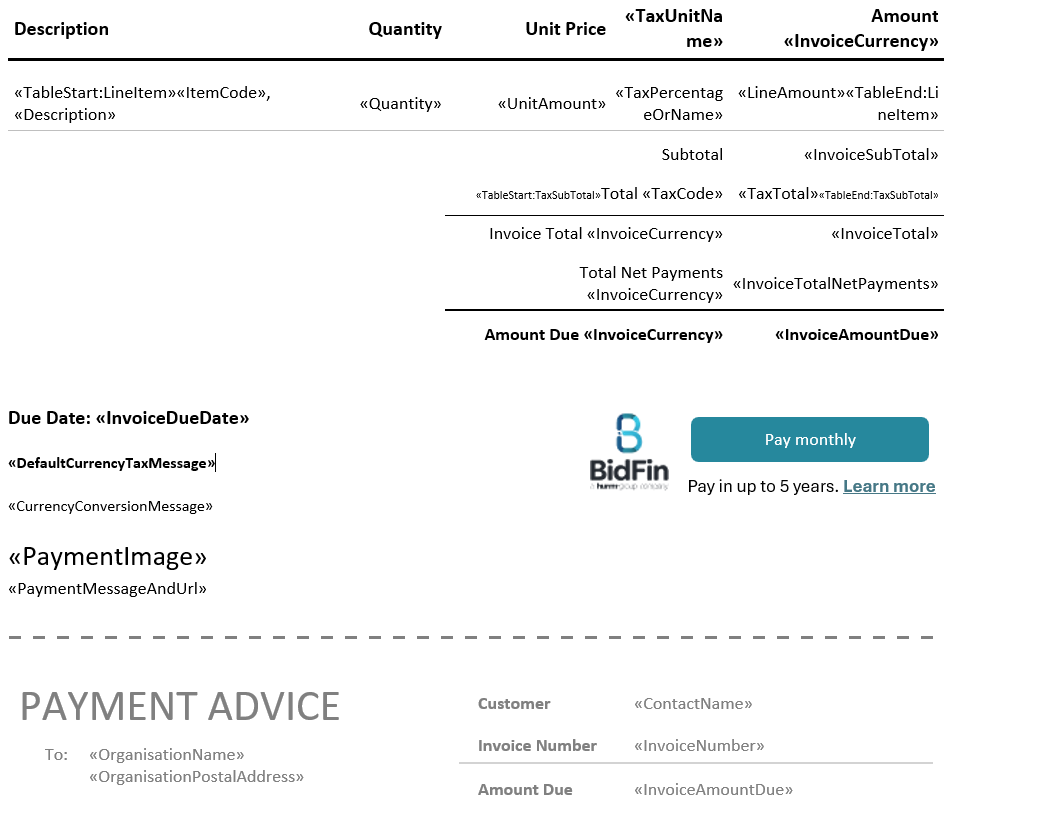
- Copy the contents from the BidFin static template file over to the invoice.docx at the location based on the design (file to be provided separately).
TipWhen pasting the BidFin widget into your invoice.docx, it's best to place the widget under the price. This will ensure that the widget does populate when generating your invoices.
- Save the invoice.docx file.
- On Xero click the organisation name, then select Settings.
- Click Invoice Settings.
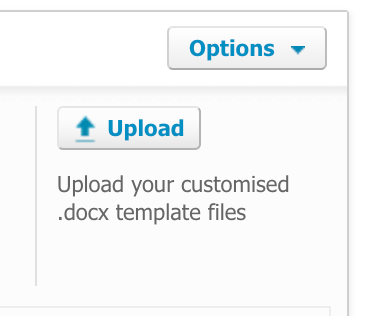
- Look for the theme we’re modifying and click the Upload button
- Click on the Browse button just below invoice label and select the invoice.docx file that you modified.
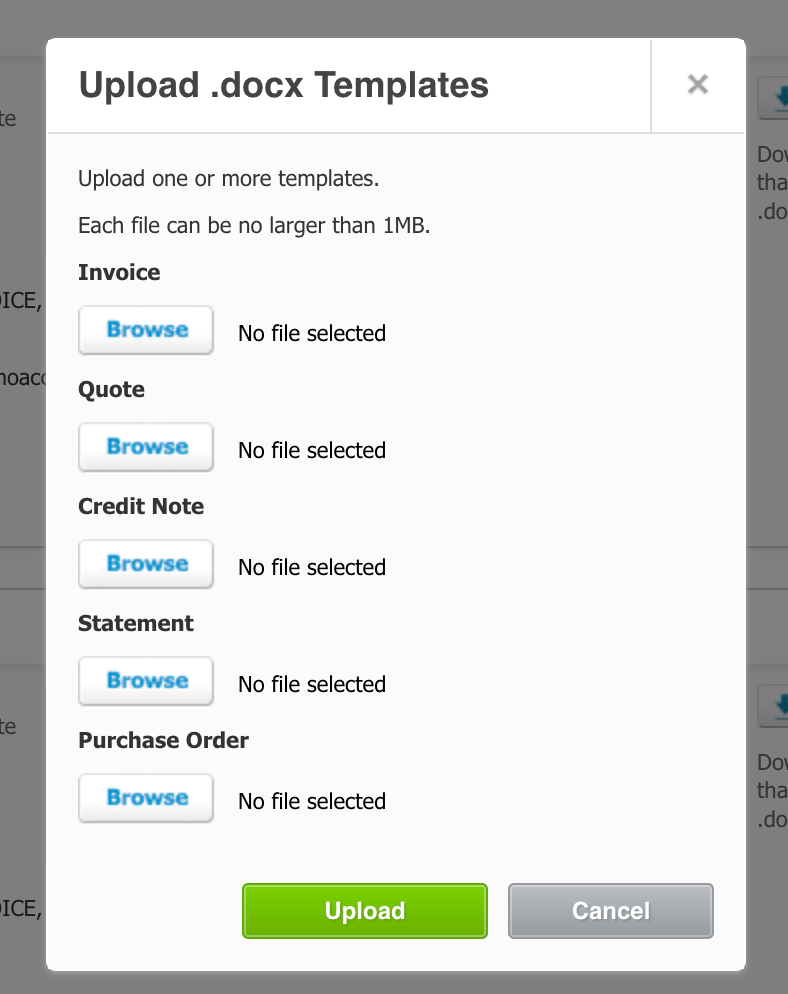
- Click Upload.
- After the file is uploaded you can test how the invoice will be printed.
Testing
- On Xero click on the Dashboard in the top navigation
- Scroll and look for Invoices owed to you and click the link.
- On the new screen click on Draft (if you have one, if not create one)
- Select/create the drafted invoice from the list
- In the top right corner you can select the branding theme from the select box (select the theme modified)
- On the navigation bar click on the preview button to preview and download a sample of that invoice using the new theme template.
- If fixes are needed make them on the .docx file and re-upload to the theme following the procedure.
Updated about 1 year ago