
Payment Tile
Download
-
Save the tile below as "humm_payment_tile"

-
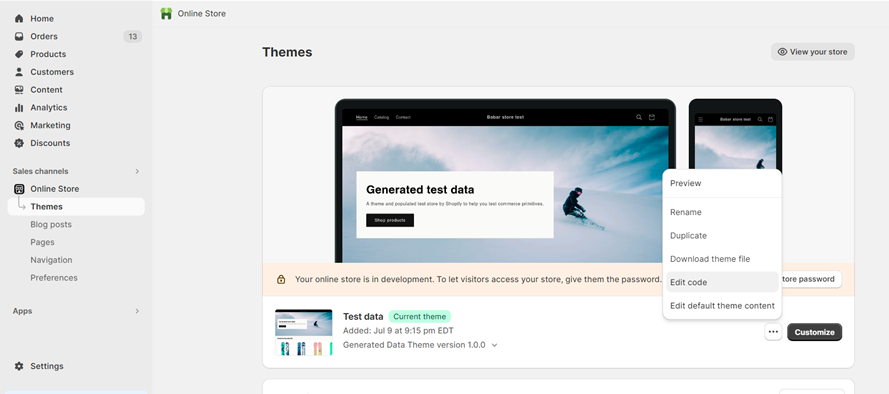
Within your Shopify dashboard, navigate to the Themes section under Sales Channels then Online Store.
-
Click on the three dot button next to Customise, then select edit code.
Add
- Scroll down to Assets, then select “Add a new asset”.
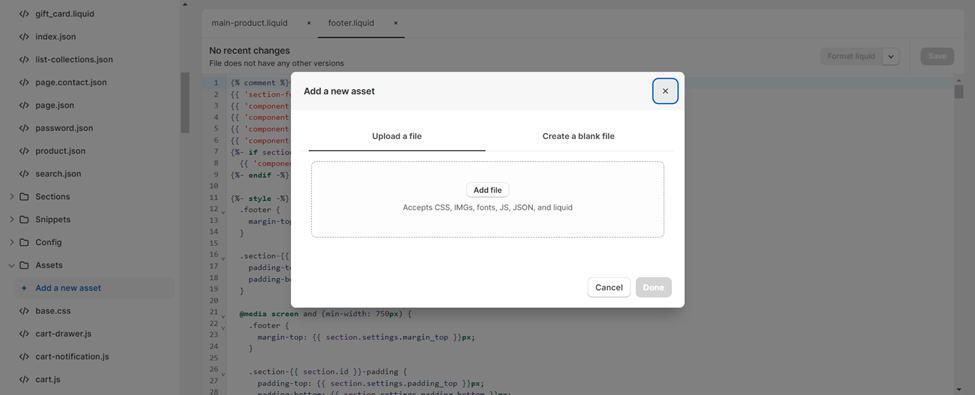
- Either drag and drop or locate the downloaded file, then select done.
Configure
- Navigate to “
footer.liquid” in sections. - Find “payment” on the page (Control+F) and paste the script after the payment type section
({%- endfor -%}).
<img style="height: 25px; vertical-align: top;" src="{{'humm_payment_tile.png' | asset_url }}" id="humm-logo" alt="humm">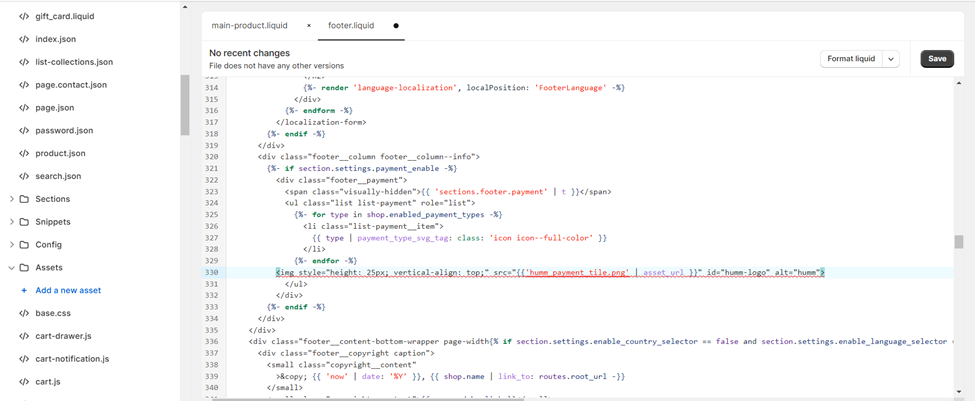
- Adjust the alignment with vertical-align top, middle or bottom.
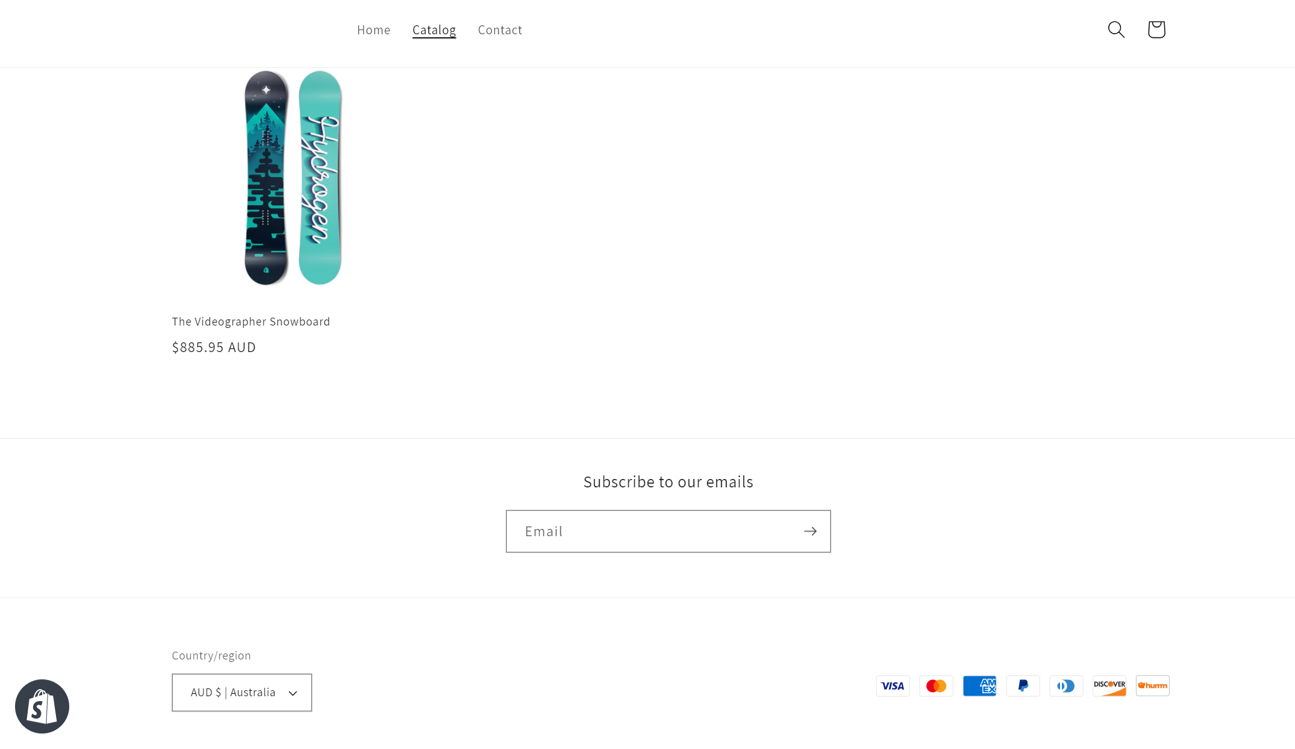
- Press Save, then preview to confirm the placement of the tile.
Need help?
For any assistance with getting the right size or alignment please reach out to via the Integration Assistance Form
Updated 16 days ago
What’s Next